In the early phase of learning how to code, it's easy to get distracted by picking the right text editor and installing the best plugins to be as efficient as possible. However, that's taking time away from the actual coding work and building as early as possible.
To help you focus on web development fundamentals in HTML, CSS, and JavaScript, here are three levels of code editors in the browser. These can even be used by seasoned developers to whip up a quick project, or as a cost-effective alternative if you don't have the best workstation, yet.
Level 1: Codepen.io
Best For: Front-end, Single Page, Testing Components
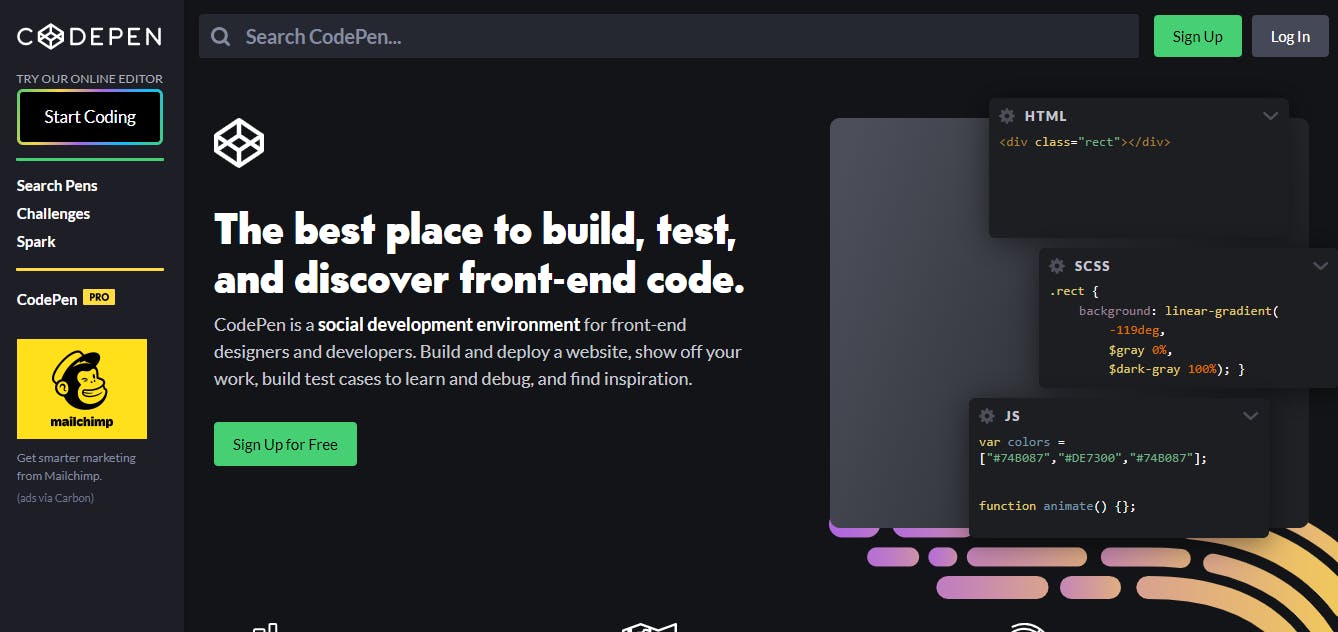
CodePen is primarily for front-end code, so it's most suitable for laying out single-page static sites or testing out components.
Mintbean.io hosts Learn-A-Bit's, which are focused on building small projects to reinforce your HTML, CSS, and vanilla JavaScript skills. They even provide starter files and related images for use!
For this example, I followed the ChallengeSet01 - Challenge02: Card. It looks like an about section with some card styling.
To get started, I would just copy and paste the HTML code into CodePen and that's it.
Make sure you only take the code that's within the
bodytag (lines 11-26) since CodePen's editor already handles theDOCTYPEandheadarea.
MintBean's ChallengeSet01 - Challenge02: Card starter HTML file
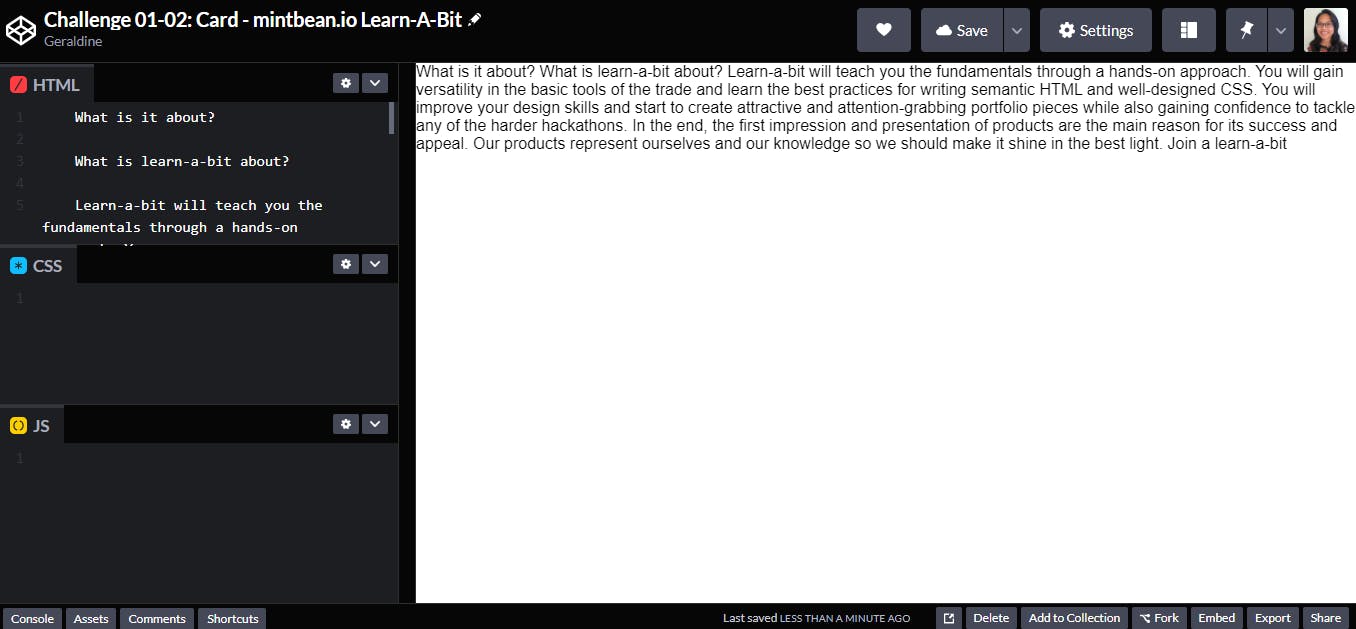
The MintBean Challenge in CodePen
And just like that you can start coding! 😤
Level 2: Repl.it
Best For: Front-end, Back-end, Full-Stack, Single Page, Multi-Page

What I like about Repl.it is that it gives you templates to get you started, from simple HTML, CSS, and JavaScript, to any number of languages, including Python, Java, and C. Additionally, there are even templates for popular frameworks such as React and Vue. This means you can have a file system in the browser and create multi-page sites.
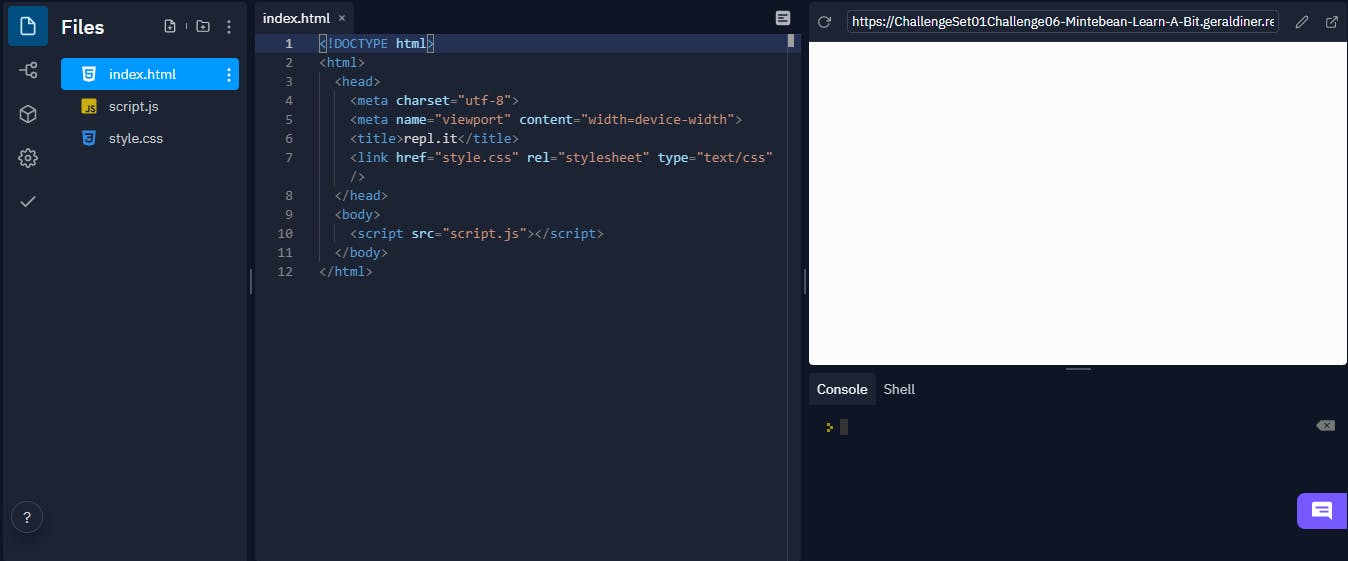
HTML, CSS, JS Template in Repl.it
Taking from the previous example, Mintbean's ChallengeSet01-Challenge06 takes all the previous challenges and combines them into a full site. For the purposes of this example, I will turn each section into its own page instead.
With Repl.it, it's much easier to get started, especially if there's a starter repo on GitHub. You can just download the files and drag and drop them into the Repl.it editor.
Downloading a code repo and uploading to Repl.it
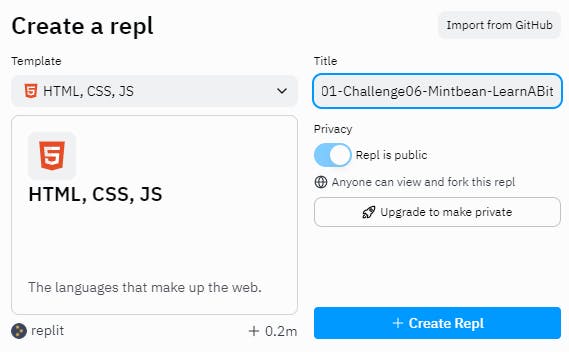
1- Make sure you have a Repl.it created with the HTML, CSS, JS template.
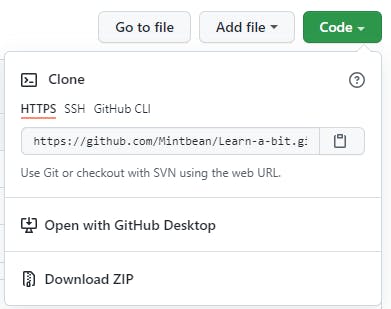
2- At the GitHub repo, click on the green Code button and select "Download ZIP"
3- Unzip the downloaded zipped file
4- In the extracted folder, navigate to the files you want to upload to Repl.it
5- Select all the files and drag them to the "Files" sidebar in Repl.it

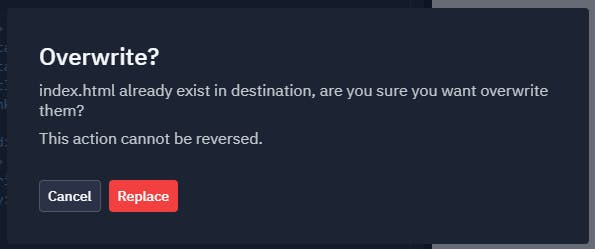
Note: It may take some time to upload. If an "Overwrite?" dialog pops up, click on "Replace".
6- And you're ready to start coding!
Make sure to click the big "Run" button at the top when you want to see any changes reflected
Sharing your repl.it
There are two main ways to share your Repl.it project with others.
Project URL
The easiest way to share your project is by copying the hosted URL from the preview on the right. You can then share this link with anyone.
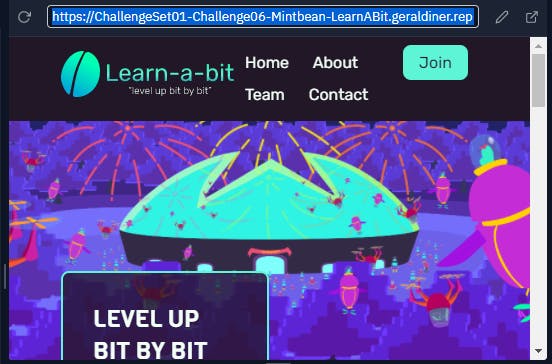
The preview on the right side has a URL to preview your project, which can be shared publicly with others.
Invite Others To Edit
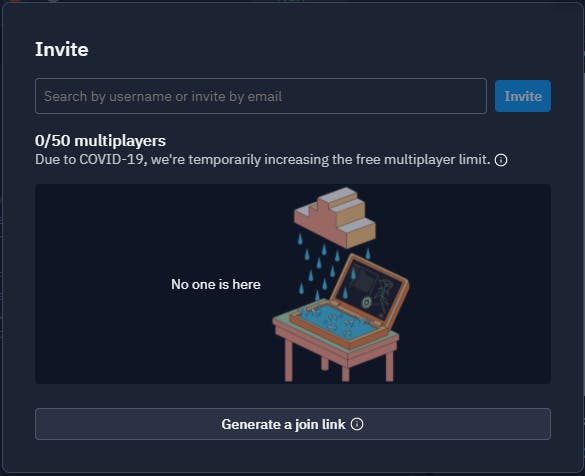
If you click the big Invite button in the top right corner, you can invite others by username or email to edit your project.

You can even open it up to everyone by clicking on "Generate a join link" and create a public link.
Level 3: CodeSandbox.io
Best For: Front-end, Back-end, Full-Stack, Single Page, Multi-Page
Similar to Repl.it, CodeSandbox has templates to get you started, virtually the same as Repl.it. The best thing about it, and what I think gives it an edge over Repl.it, is being able view multiple files in a split screen.
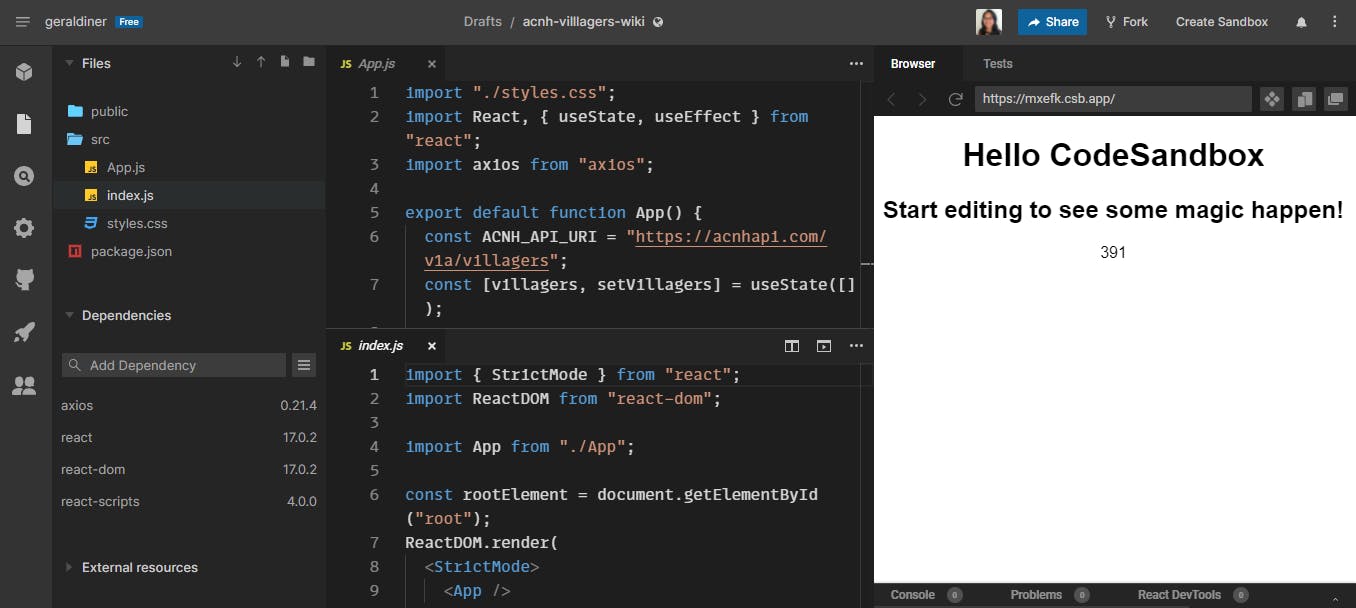
For this example, I went with one of Colby Fayock's 50 Projects for React and the Static Web. For this project, I'm making a simple fan wiki page for Animal Crossing: New Horizons Villagers, based on the Rick and Morty Wiki Web App.
To start a project, first choose a template. You can either choose from a recently used template, or choose one from all the templates.

If you've used CodeSandbox before, you'll see your recent templates listed in your Dashboard.
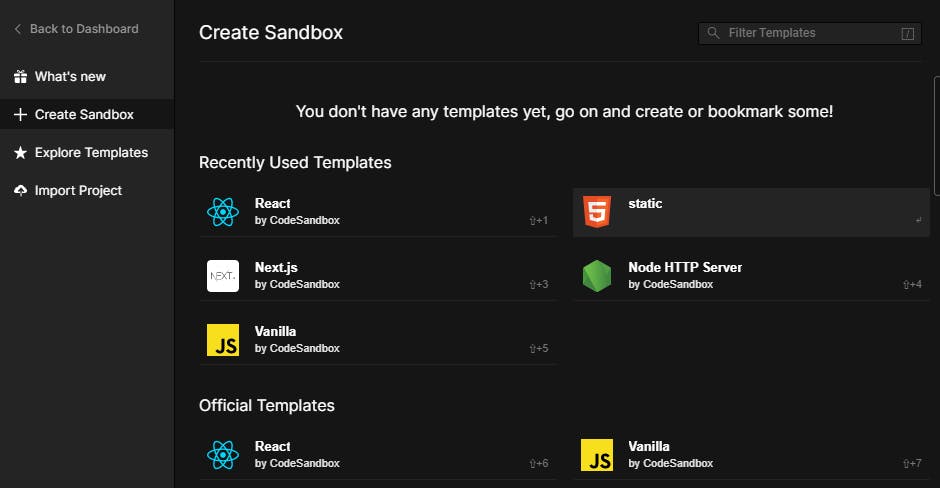
You can also choose a template by clicking on "New Sandbox".
It might be overkill, but I'll be using React for this example.
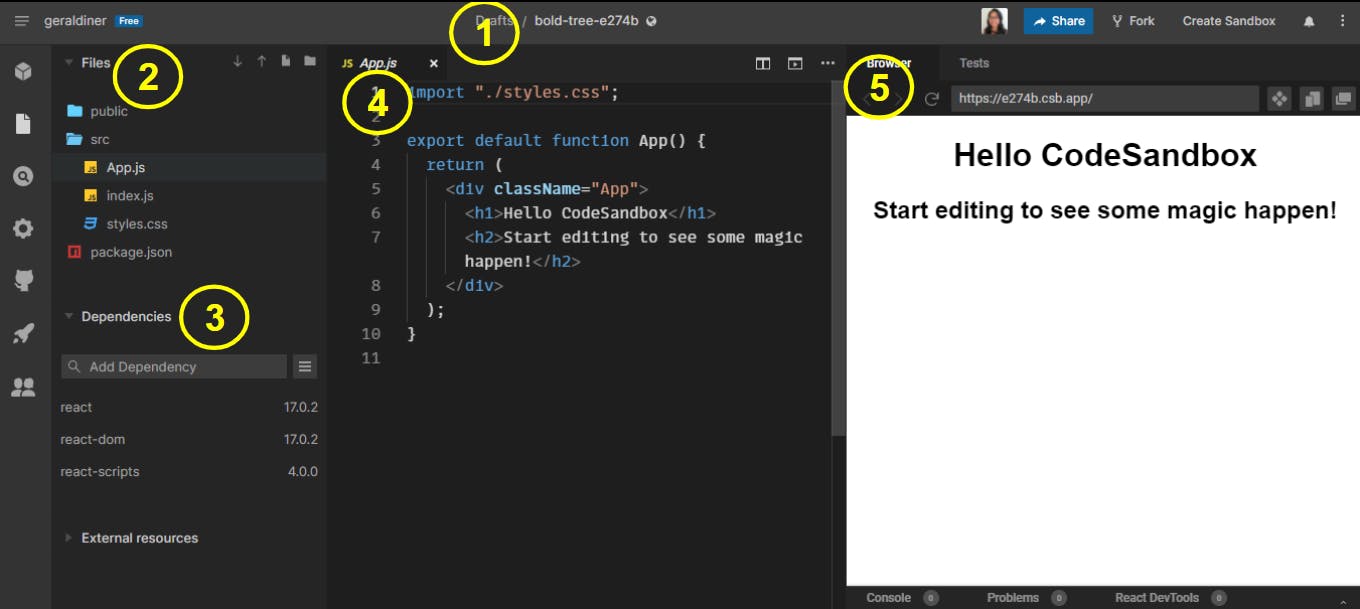
1. Project Name
This is the name of your project. Feel free to rename it from the randomly generated name.
2. Files
This is where all your files are. You can create new files and folders to suit your organization style.
3. Packages/Dependencies
Search for any packages or dependencies to add them to your project. They will be immediately installed.
4. Text Editor
This is where you can edit your files. Depending on your screen size, you can also use split screen to open more than one file at a time.
5. Preview Pane
Here you can see a preview of your project.
Sharing your sandbox
Similar to Repl.it, you can share your sandbox by grabbing the URL in the preview pane.
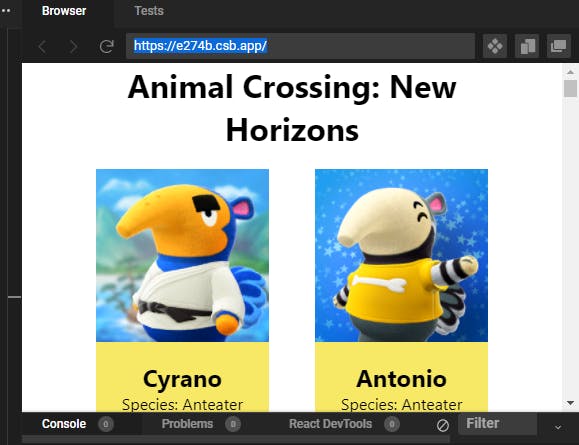
There are also ways to save it as a template for others to build off of. Or even deploy to Netlify, Vercel, or GitHub. But that's beyond the scope of this post.
Final Thoughts
It seems like Repl.it and CodeSandbox.io are virtually the same. It all comes down to what kind of environment you really like working in and what your goals are.
For quick prototyping, CodePen.io might be all you need. For larger sites with multiple pages, Repl.it will do the trick. For a full-stack web application, CodeSandbox.io has you covered.
All of this right in the browser, without needing to spend big bucks on a over-powered workstation! It's important when you're starting to build projects without getting too attached to a particular text editor. When you're ready, you can switch over to something like VS Code, Sublime Text, or Atom.
Hopefully this encourages you to get building right away!
This post is like a tiramisu. It has layers of learning to get you started coding without worrying about fancy IDEs.
 Source: tumblr
Thanks for reading!
💖 Geraldine | Say hi on Twitter 👋🏾 @geraldinedesu
